

Flat lay photography is all about balance, intention, and visual flow—but if you’ve ever felt like your layouts look “off” without knowing why, you’re not alone.
One of the simplest and most effective techniques to instantly elevate your flat lays is the rule of three.
At Olive & Oak, this is one of our go-to styling principles—and once you start using it, you’ll see a noticeable difference in your work.
What Is the Rule of Three in Flat Lay Styling?
The rule of three is a design principle where objects are grouped in sets of three to create a more natural, balanced composition.
Why does it work so well?
Because the human eye is naturally drawn to odd-numbered groupings. Three creates movement, interest, and harmony—without feeling too structured or too chaotic.
Instead of placing items randomly across your styling mat, grouping them intentionally in threes creates a layout that feels polished and professional.
Why Groups of Three Work So Well
When you style in groups of three, you create:
- Visual balance without symmetry feeling too rigid
- Natural flow that guides the viewer’s eye across the image
- Depth and layering without overwhelming the composition
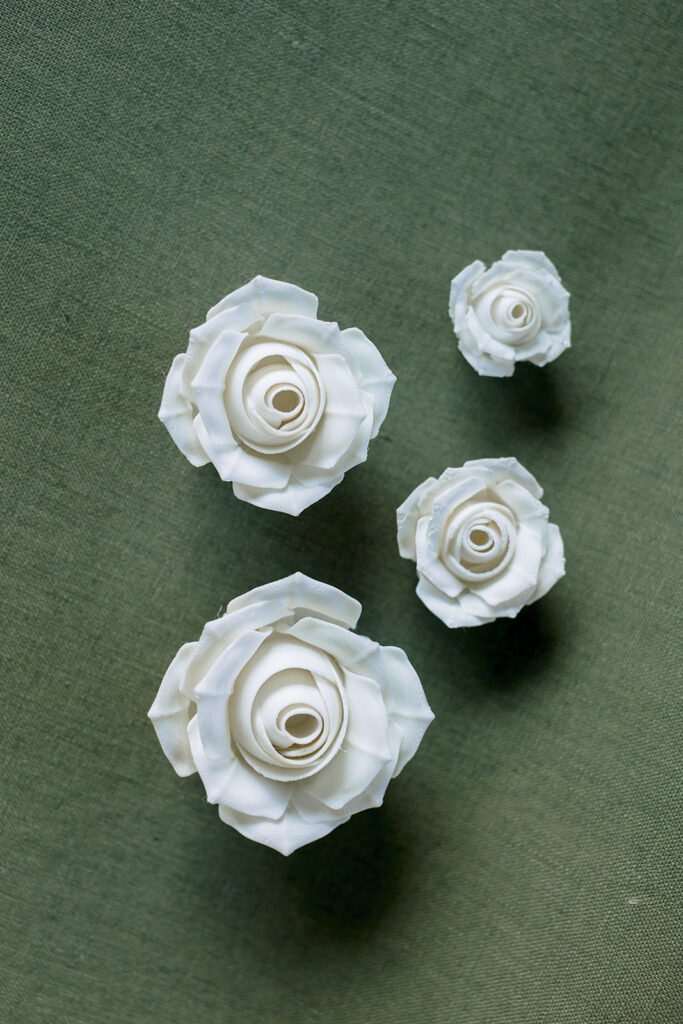
Think of it this way:
Two items can feel incomplete.
Four items can feel crowded.
Three items feel just right.

How to Style Flat Lays Using Groups of Three
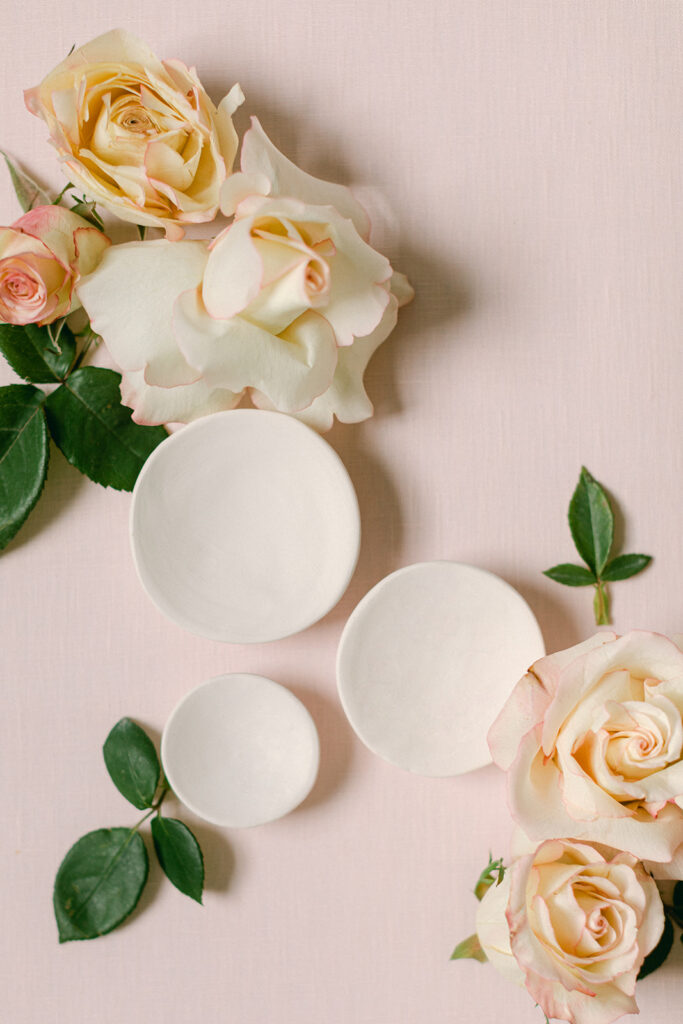
1. Start with Your Main Piece
Begin by placing your focal point—typically your invitation suite, vow book, or main detail.
This is the anchor of your flat lay and should sit on your styling mat first before adding any accessories.
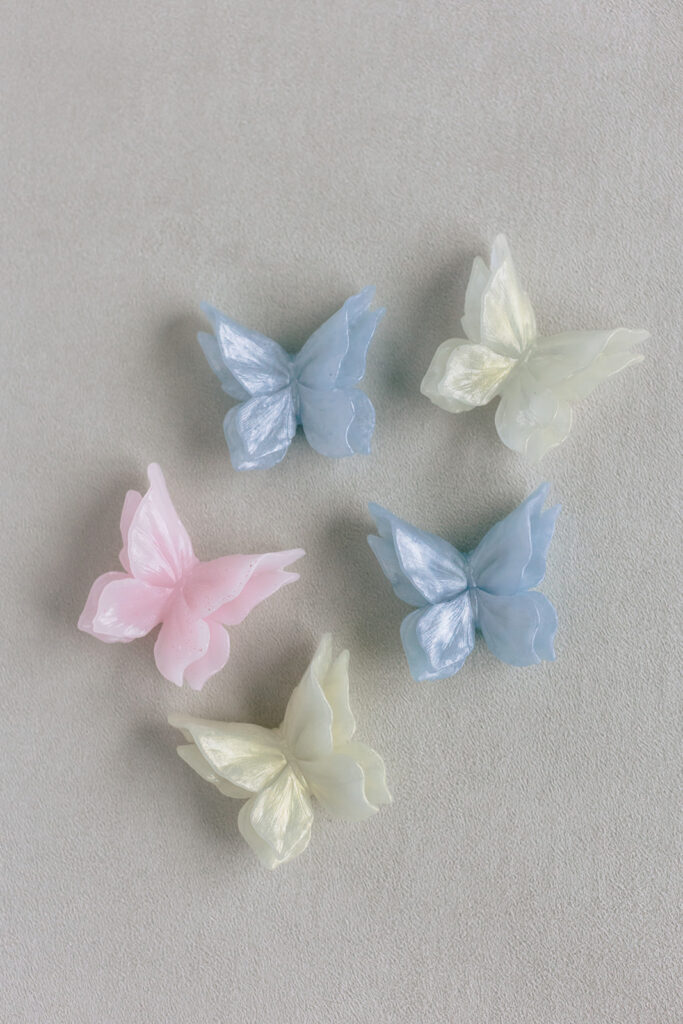
2. Build Your First Group of Three
Choose three complementary accessories to place near your main piece.
Examples:
Keep these items close enough to feel connected, but not overlapping unless you’re intentionally layering.
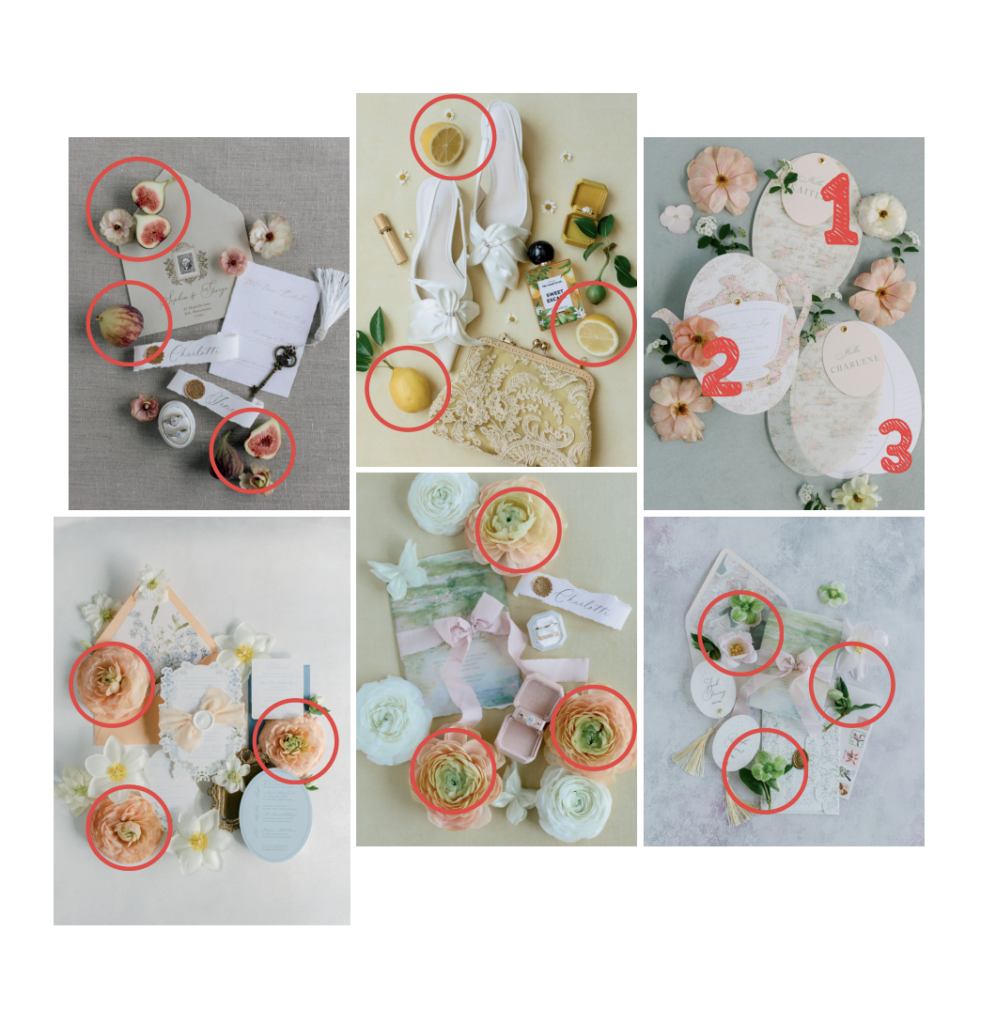
3. Create Supporting Groups
Once your first grouping is placed, build out additional clusters of three around your layout.
These supporting groups help guide the eye and fill negative space without cluttering the image.
A helpful tip:
Vary the size and height of each group to add dimension.
4. Use Height and Layers Within Each Group
Each group of three doesn’t have to sit flat.
To add interest:
- Use styling blocks to elevate one item
- Let ribbon or fabric flow underneath
- Slightly overlap pieces for depth
This creates a more dynamic, editorial look while still maintaining balance.
5. Keep Spacing Intentional
Even when working in groups of three, spacing matters.
Watch the distance between each group:
- Too close → feels crowded
- Too far → feels disconnected
Aim for consistent spacing so the entire flat lay feels cohesive.
Common Mistakes to Avoid
Even with a simple method like this, there are a few things to watch for:
- Adding too many items → stick to groups of three, not five or seven
- Making every group identical → vary size and shape for interest
- Ignoring your background → your styling mat should complement, not compete
A well-chosen mat provides the foundation that allows your groupings to stand out.
Why Your Styling Mat Matters
The rule of three works best when your background supports the overall composition.
A high-quality, neutral styling mat—like suede or linen—helps each grouping feel elevated and cohesive.
Because Olive & Oak mats are double-sided, you can easily switch tones depending on the look you’re going for, giving you even more flexibility when building your groups.
Final Thoughts: Keep It Simple and Intentional
If you take one thing away from this method, let it be this:
When in doubt, style in groups of three.
It removes the guesswork, simplifies your process, and consistently delivers beautiful, balanced flat lays.
Whether you’re styling for weddings, branding shoots, or product photography, this foolproof technique will help you create images that feel both natural and refined.


Be the first to comment