

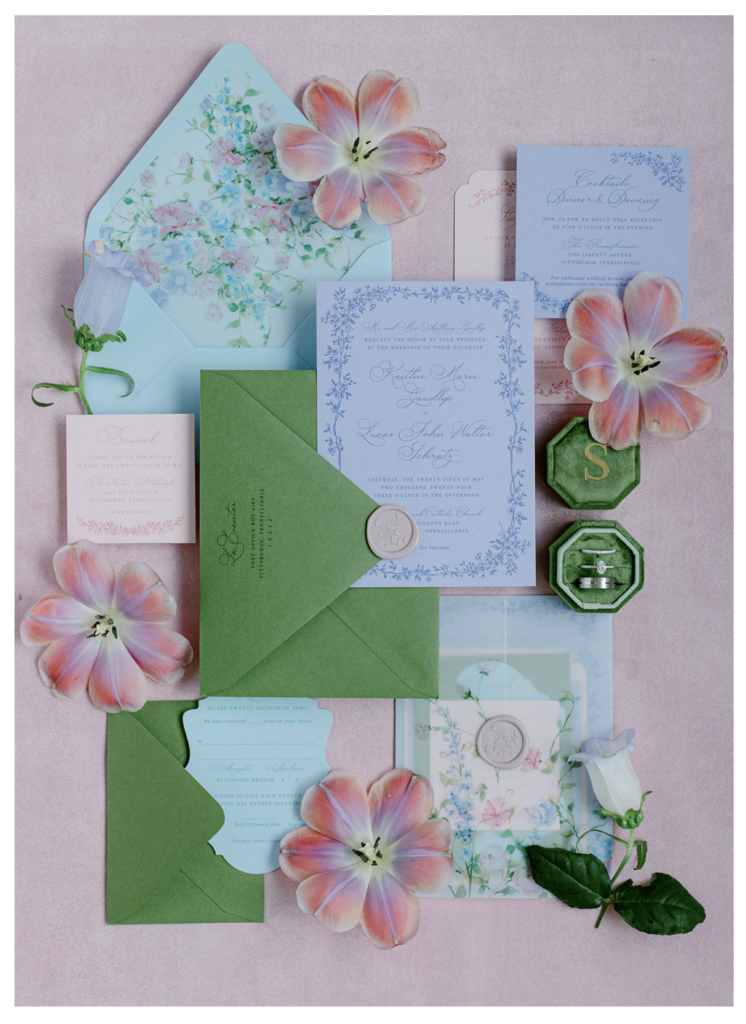
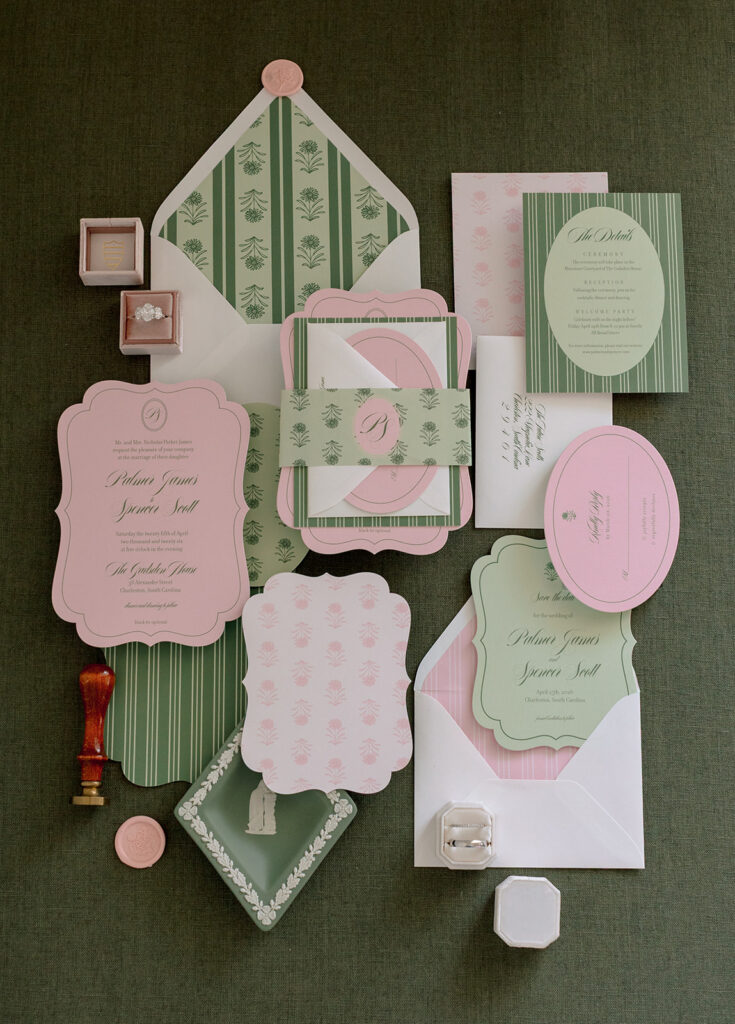
Creating a beautiful flat lay isn’t just about placing pretty items on a surface—it’s about creating depth, balance, and intention. If your images ever feel flat or lacking interest, the missing piece is almost always dimension.
In this guide, we’ll walk through simple, professional techniques to help you build layered, elevated flat lays that feel polished and editorial—perfect for wedding photographers, product photographers, and content creators alike.
1. Start With Your Layout Style (Before You Place Anything)
Before placing a single item, decide on the overall direction of your flat lay:
- Garden-style: Organic, flowing, slightly asymmetrical
- Symmetrical: Clean, structured, and evenly spaced
This step is often skipped, but it’s what separates a “random arrangement” from a thoughtfully styled composition.
Once you’ve chosen your style, pay close attention to spacing. Consistent spacing between elements—especially paper goods—creates a sense of balance and professionalism.
Pro Tip:
If you’re using a double-sided styling mat from Olive and Oak Mats, choose the side that complements your layout style. Soft linens work beautifully for garden-style, while suede or solid textures enhance symmetrical designs.
2. Choose Your Main Piece First
Every strong flat lay has a clear focal point.
This is typically:
- An invitation suite
- A vow book
- A branded product
- A statement detail (like shoes or perfume)
Place your main piece on your mat before adding anything else. This anchors your entire composition and gives you a reference point for everything that follows.
When you skip this step, your eye has nowhere to land—and your viewer feels it immediately.
Think of it this way:
Your main piece tells the story. Everything else supports it.
3. Build Dimension From the Top Down
This is where your flat lay transforms from basic to elevated.
Instead of placing everything flat on the surface, you want to create levels.
Here’s the key:
Start with your highest element first, then work your way down.
This could include:
- Styling blocks
- Ring boxes
- Elevated trays
By starting high and working downward, you maintain control over how the eye moves through the image.
Best Practice:
Avoid stacking more than two styling blocks high.
Too much height can:
- Create harsh shadows
- Distract from your main subject
- Feel visually cluttered
The goal is subtle dimension—not distraction.
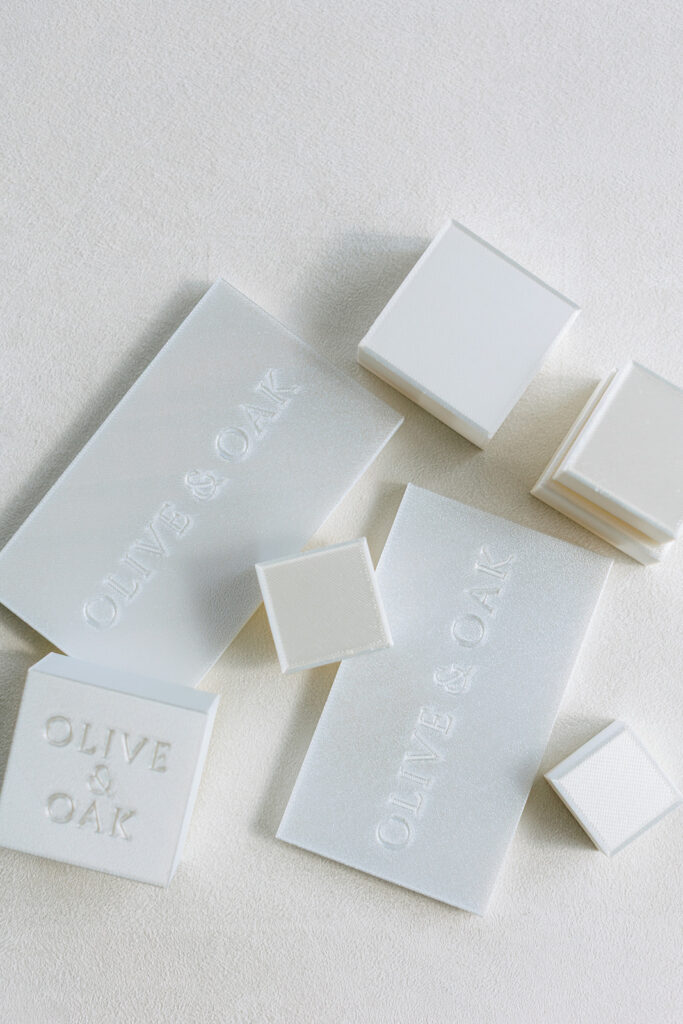
Styling Blocks from Olive and Oak Mats
Styling Circles from Olive and Oak Mats
Styling Rectangles from Olive and Oak Mats
4. Layer With Intention (Not Just for Looks)
Layering is one of the most powerful ways to add depth—but it has to be intentional.
Think about:
- Overlapping edges slightly
- Tucking elements under one another
- Mixing textures (linen, suede, paper, ceramics)
Each layer should feel like it belongs—not just added for filler.
For example:
- Place a vow book slightly under an invitation
- Let a ribbon or fabric softly extend beyond your main piece
- Use ceramics or styling accents to break up flat space
This creates visual movement, guiding the viewer’s eye naturally across the image.
5. Use Your Phone to Check the Composition First
Before grabbing your camera, pause.
Take a quick photo from above using your phone.
This simple step will instantly reveal:
- Crooked lines
- Uneven spacing
- Empty or awkward gaps
- Distracting elements you didn’t notice
It’s much easier to fix these details early than in post-production.
Why this matters:
What looks good from your angle doesn’t always translate from a true overhead perspective.
Your phone becomes a fast, low-effort way to refine your work before committing to the final shot.
6. Use Negative Space (and the Right Tools)
Negative space helps your flat lay feel clean and intentional—but it only works when it’s balanced.
Too much space feels empty. Too little feels cluttered.
The goal is to let your main subject stand out while supporting pieces enhance the overall look.
Using a quality styling mat and simple tools (like styling blocks or ceramics) makes this easier—helping you control spacing, texture, and dimension without overcomplicating your setup.


Be the first to comment